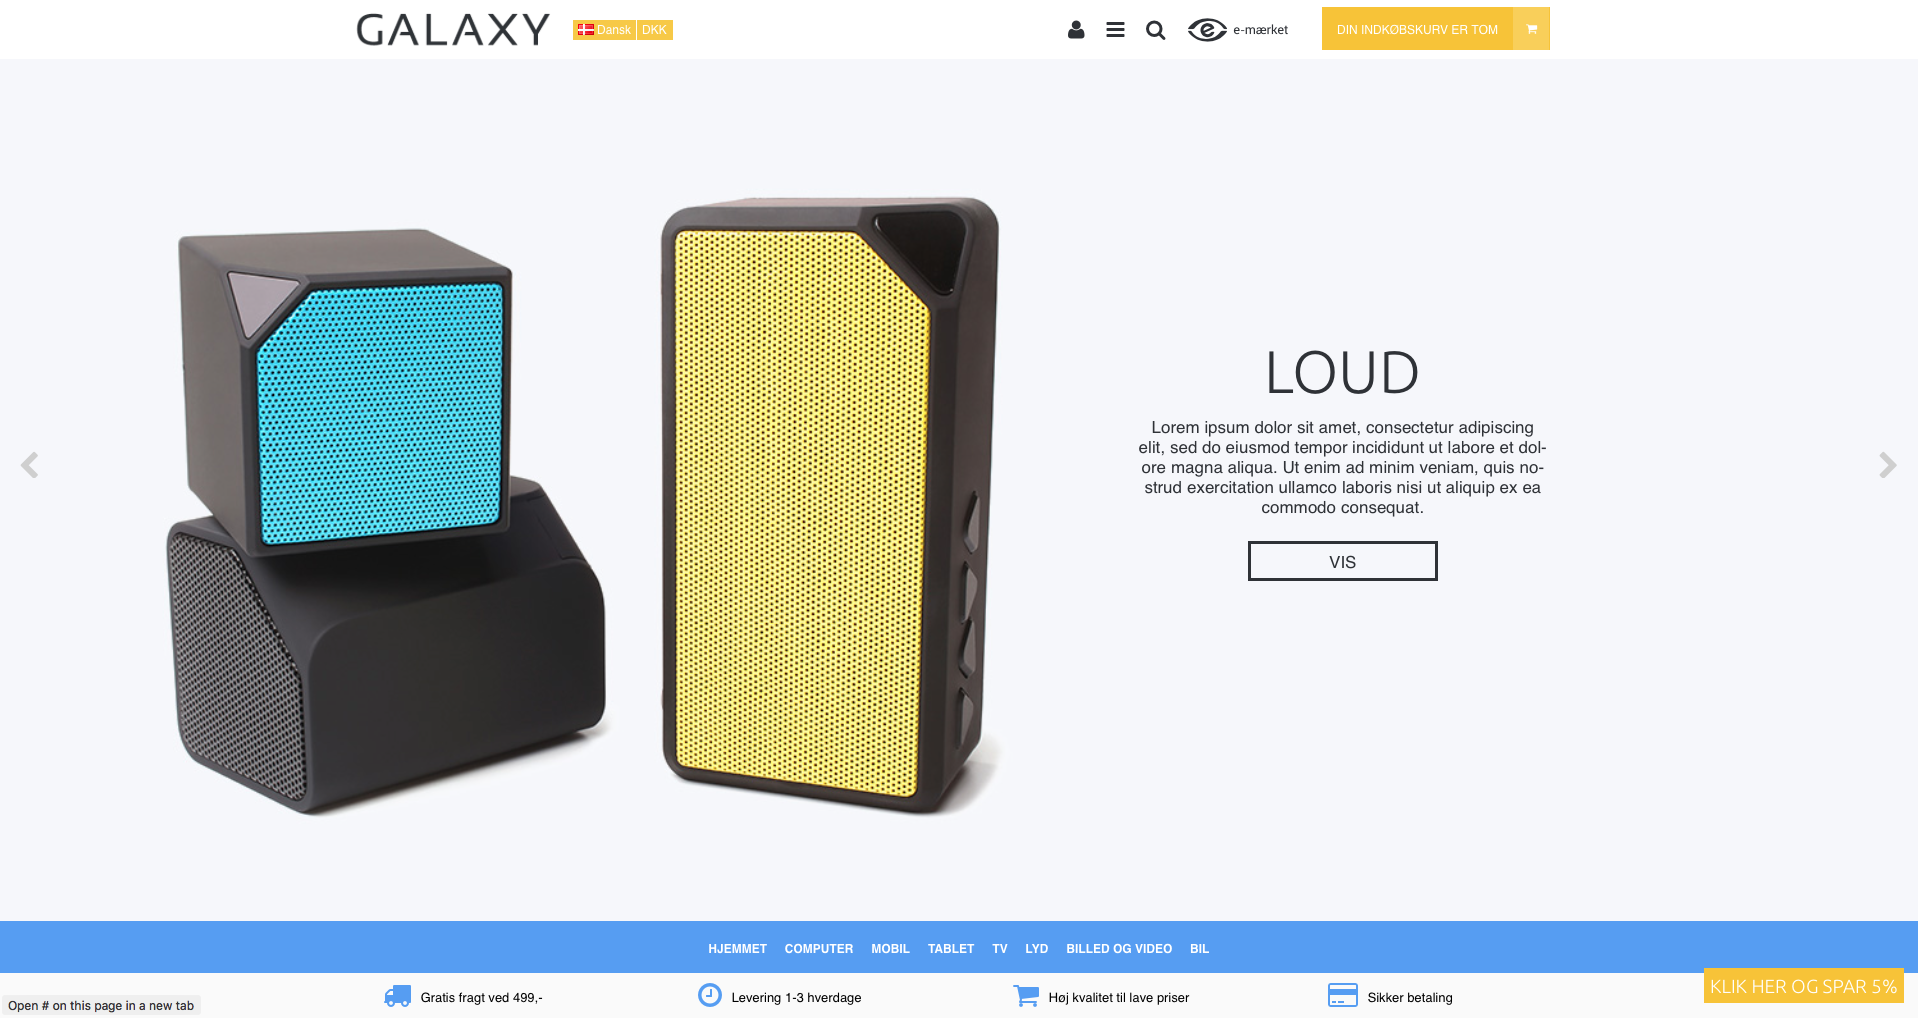
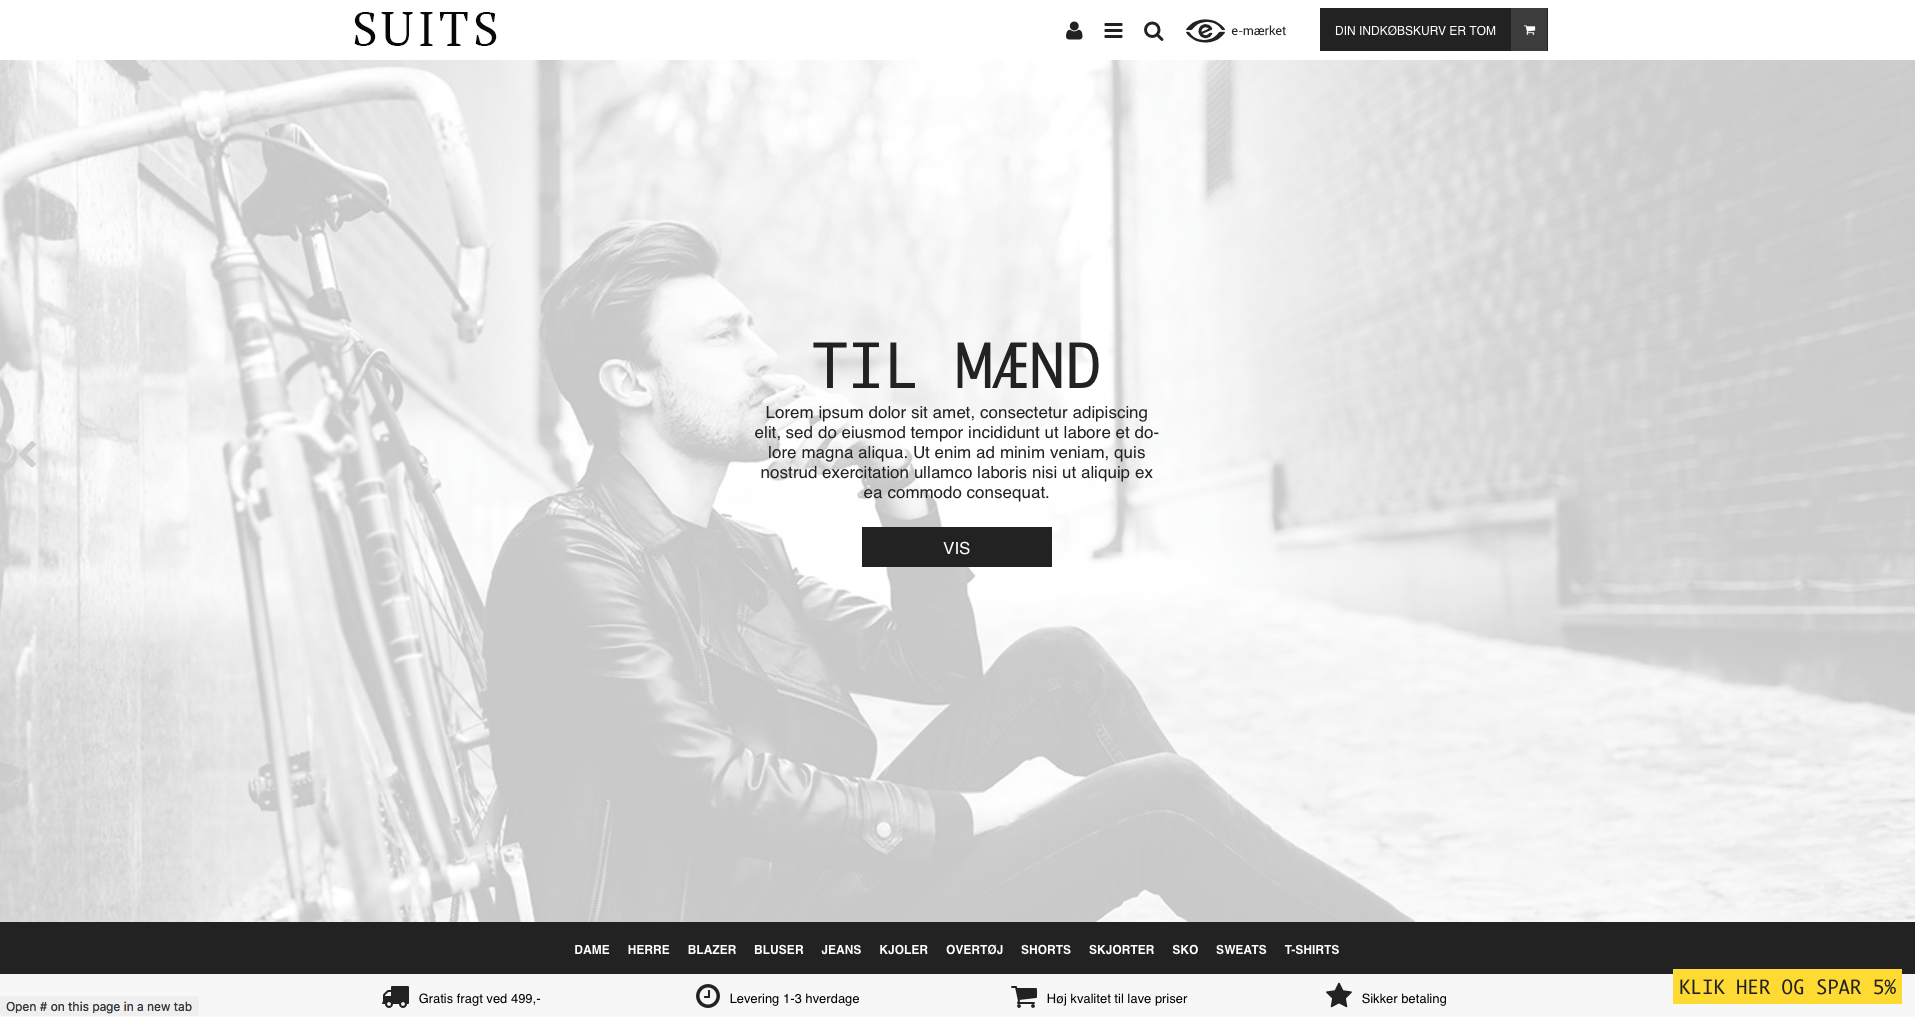
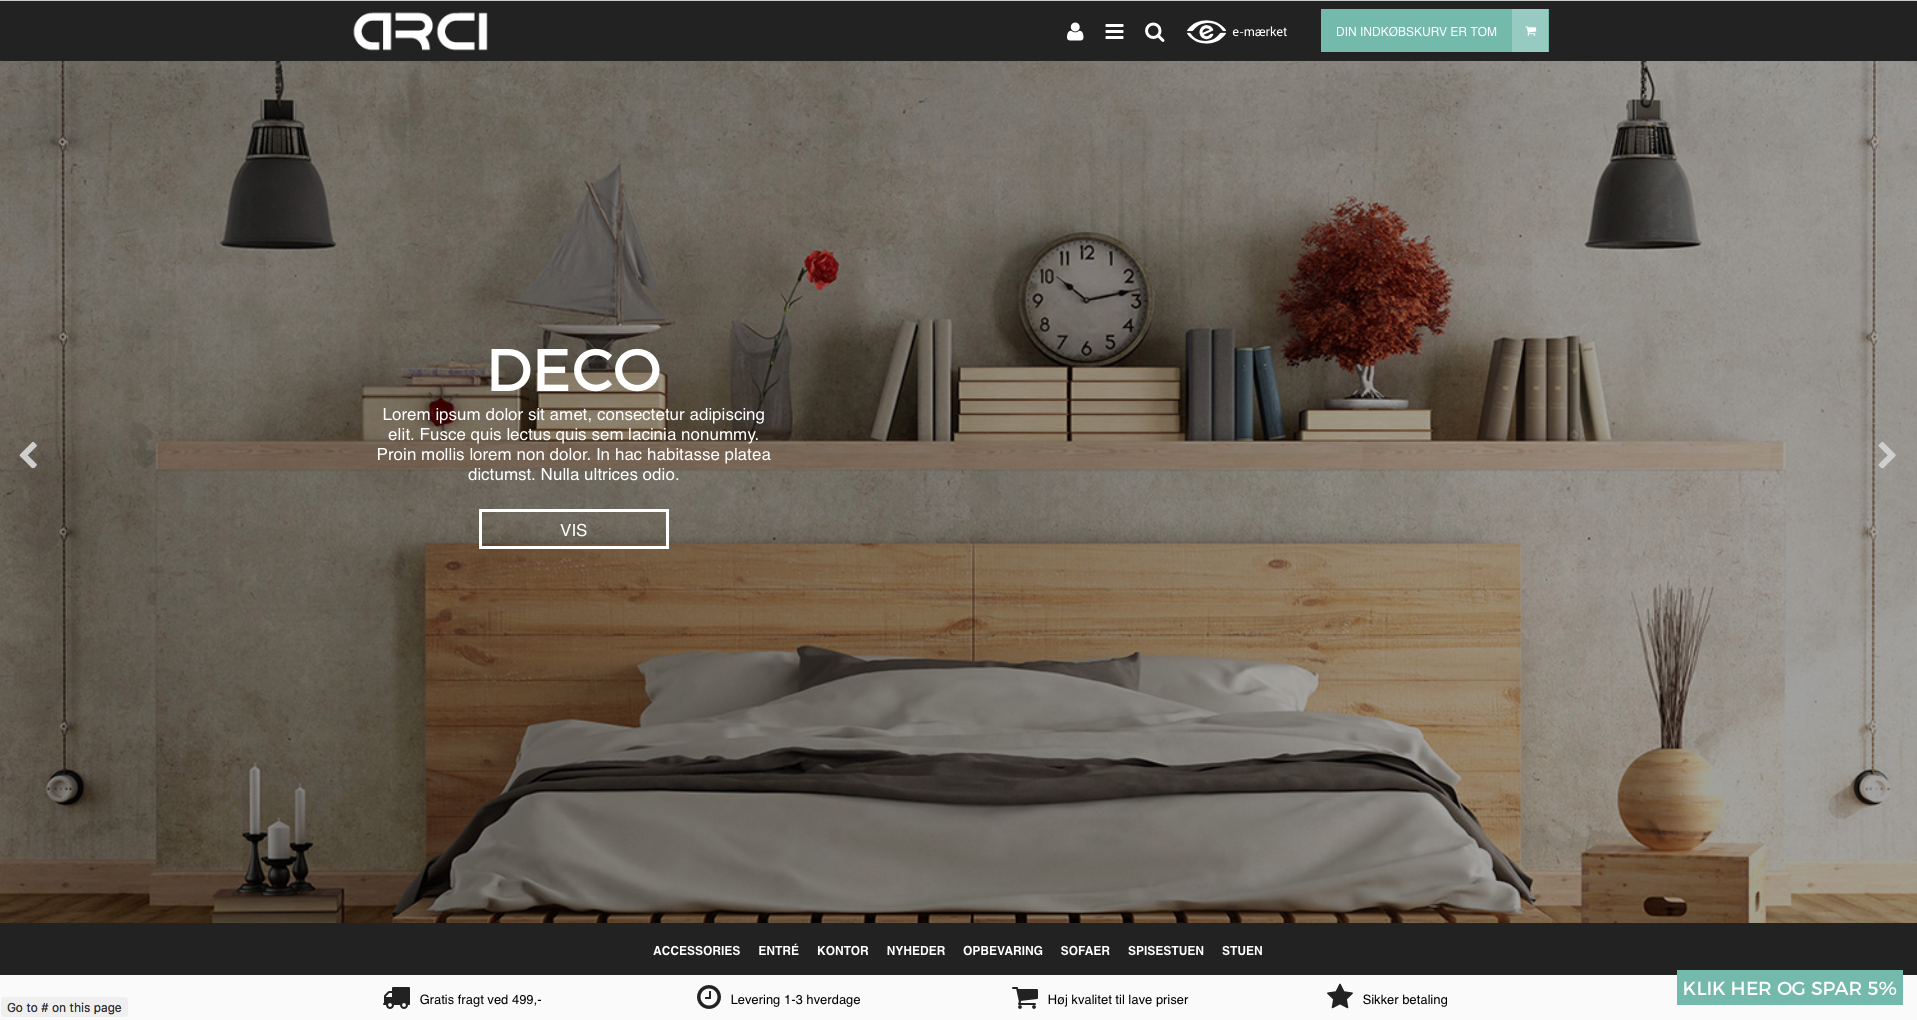
GALAXY Theme Guide
You of course have the opportunity to change the colors to others if you wish.
LOGO

HOW TO UPLOAD YOUR OWN LOGO TO YOUR ONLINE STORE
The SmartWeb system is build to easily manage your site, in their Design Manager.
To change the logo from the standard, you need to follow these steps:
- Log in to your SmartWeb solution.
- Find "Webshop > Design" in the navigation on the left.
- Click "Edit Design" on your desired design.
- Here you can customize the color theme and available functions for the whole Online store.
- Under the tab "Graphics & Fonts" you’ll find the title "Logo" where you are able to upload a logo of your own choosing.
CMS MENU
USE OF CMS MENU
The CMS menu has been redesigned for both desktop, tablet and mobile. You can customize the background color and font color.
To change the colors, you can do it in the following way:
- Log in to your SmartWeb solution.
- Go to "Webshop > Design" in the left menu.
- Click on "Customize" on your Galaxy design.
- Find "Topbar colors" located under "Template colors" where you can change the various colors of the CMS menu.
SLIDER
SETTING UP FRONTPAGE IMAGESLIDER
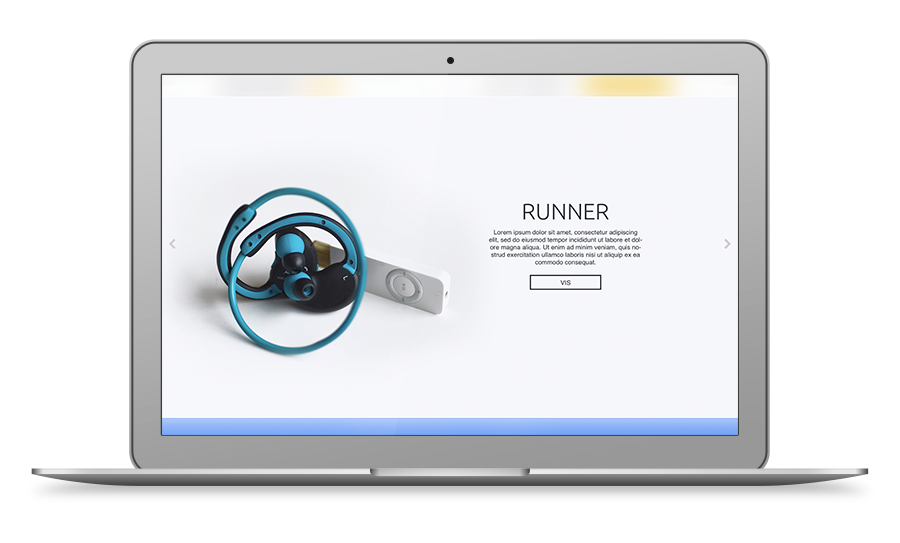
Developed especially for companies that, for example, want to show their collection in large, beautiful images. When you have a slider that fills the entire image, it also gives good focus to your products in the webshop. The slider image must be 1500 pixels wide. You can decide the height yourself and use an image of 1500 x 650 pixels, for example, if you want a starting point.
Please note that the image is automatically zoomed on different devices and that any text and important elements in the image should therefore be placed centrally on the banner with a small margin if it is to always be visible. This behavior is a conscious design choice as the banner acts as a mood image. For example, if the size of the image is 1500 x 650 pixels, you should have a 200 pixel margin on the right and left sides and about 70 pixels at the top and bottom for the most important elements of the image. You can always try out a copy of the design if the shop is open to customers.
The frontpage imageslider has features that make it possible to write captions, and add links to every picture you add. The slider is designed so that it is possible to specify the position of the caption, and of course to change the images to be displayed.
What you have to do to upload images into image slider are as follows:
- Log in to your SmartWeb solution.
- Go to "Webshop > Pages > Frontpage" in the left menu.
- Select "Picture Element" which displays the images that have already been uploaded.
- If you want text over the image, it can be done by clicking the "Extra Info" and fill in the fields.
- If the text is in the way in the middle it is possible to move the text to the right or left. This is done by going into "Webshop > Design > Edit design" in the left menu, where you will find a option under "Home > Frontpage imageslider" Where you can choose the location of the text. Here you can also change background color to the caption, but it only appears when looking on the mobile breakpoint.
SHOPPING CART
SETTING UP SHOPPING CART
When you mouseover the shopping cart button in the upper right corner of the page, a popup will appear. It opens of course only when there are items in the basket.
It is made possible to customize your cart, so it stands out from the rest of your store.
To change the colors, you can do it in the following way:
Log in to your SmartWeb solution.
2. Go to "Webshop > Design" in the left menu.
3. Click on "Customize" on your Galaxy design.
4. Here you will find the tab "Settings" where you can set up the colors.
5. Under "Shopping cart colors" you can change the color of the shopping cart.
CATEGORY MENU DROPDOWN
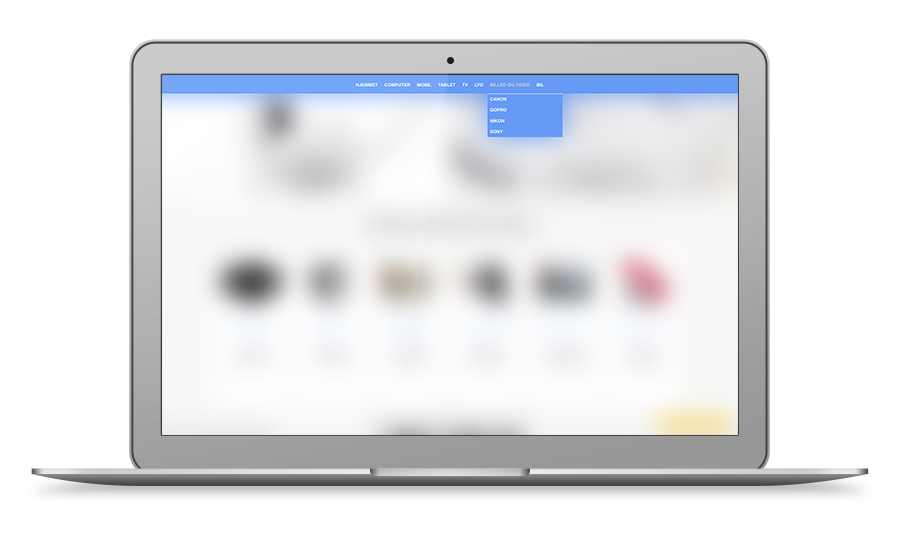
HOW TO ACTIVATE / DEACTIVATE YOU DROPDOWN ON THE CATEGORY MENU
There has been added an option to add a dropdown to the category menu. As soon as you activate the dropdown, you will be able to use it*. It requires that you scroll down, so the menu is at the top of your browser window.
What you need to do to add this feature to your category menu are:
Log in to your SmartWeb solution.
2. Go to "Webshop > Design" in the left menu.
3. Click on "Customize" on your Galaxy design.
4. Here you will find the tab "Settings" to setup the included dropdown feature.
5. Under "Frontpage" you will find the heading "Frontpage category menu" where you can activate / deactivate your dropdown.
* It is required that you have sub-categories to make use of the dropdown.
CATEGORIES TOP
WHEN YOU SCROLL DOWN ON THE WEBSITE
There are a few options on the menu category function. It automatically adapts to the screen size.
The menu will also automatically follow the top of the screen when you scroll down, so its easier for customers to navigate the site.
The navigation menu is also responsive, meaning that it is also designed for use on mobile and tablet. The navigation bar should not follow the screen on mobile and tablet as it takes a lot of space.
CATEGORIES COLUMNS
USE OF CATEGORY MENU IN THE COLUMNS
It's simple to use the category menu on the left or right column. It is a standard feature in SmartWeb so it is possible to find a guide directly in their user manual.
See link: http: //design-help.smart-web.dk/34-struktur/
All you have to do is the following:
- Log in to your SmartWeb solution.
- Go to "Webshop > Design" in the left menu.
- Click on "Customize" on the template you want to configure your category menu.
- In the top tab "Structure" you can choose where the menu should be placed on your shop.
USP
SETTING UP USP
The USP function allows you to highlight the benefits that you can offer your customers.
"FIND YOUR UNIQUE BENEFITS ..." and add it to your USP, you can even choose a nice icon for each text, and it is designed that you can have up to 4 points as shown in the picture.
What you need to do to configure your USP are as follows:
Log in to your SmartWeb solution.
2. Go to "Webshop > Design" in the left menu.
3. Click on "Customize" on your Galaxy design.
4. Under the tab "Frontpage" find a heading named "Frontpage USP".
5. Below you find the possible customization you can do. These configurations are - font color, background color of the bar, your icons color and choosing a specific icon for each text.
6. The text can be changed under "Actions > Edit translations", which is accessed from "Webshop > Design".
Next to each line you are able to write a text that will be set into your USP bar.
- USP_TEXT_1
- USP_TEXT_2
- USP_TEXT_3
- USP_TEXT_4
BRANDS
SETTING UP BRAND SLIDER
When you create your brands on the Online store under "Webshop > Brands & Manufacturers", it will automatically display them on the frontpage, as long as you have uploaded an image for each brand / manufacturer.
It will automatically create a link on the images, which will bring you into the "Brand" in the Online store when you click on it.
The brand slider works of course on mobile and tablet where you can slide through all the created brands with your finger.
FOCUS BANNERS
SETTING THE FOCUS BANNERS
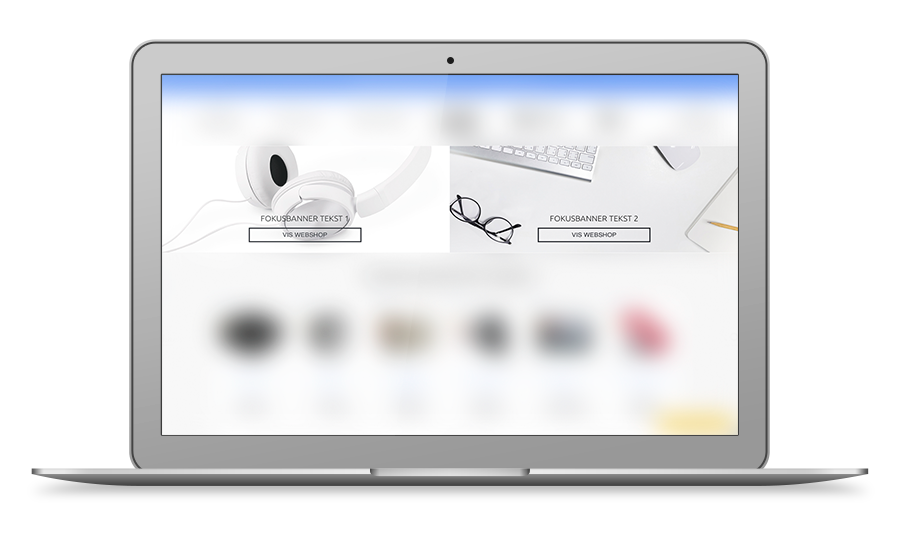
Focus banners gives you full control over which areas you want to advertise a little extra for.
The idea is that it should be possible to upload pictures with a example of "New collections". To every picture ( up to 8 ) you can write a head title, design your button and write a text inside this button.
What you need to do to use your banners are as follows:
- Log in to your SmartWeb solution.
- Go to "Webshop > Design" in the left menu.
- Click on "Customize" on your Galaxy design.
- Find the title which is named "The frontpage focus banners" located under "Frontpage".
- Here you can upload images to your focus banners, you can upload up to 8 banners, and for example choose to only the first 5 to show. The excess banners will always be saved if you have them set up before, and then perhaps want to use them later.
- The text can be changed under "Actions > Edit translations", which is accessed from "Webshop > Design".
Next to each line you can write a headline, a link and read more text on the buttons. Each focus banner has 3 lines.
- FOCUS BANNER _ ( "NUMBER") HEADLINE head title text
- FOCUS BANNER _ ( "NUMBER") _ LINK HYPERLINK link text
-
FOCUS BANNER _ ( "NUMBER") _ BUTTON_TEXT button text
Each ( "NUMBER") are respectively the cases 1, 2, 3, 4, 5, 6, 7, 8
NEW- & ONSALE PRODUCTS
SETTING UP NEW AND ONSALE PRODUCTS
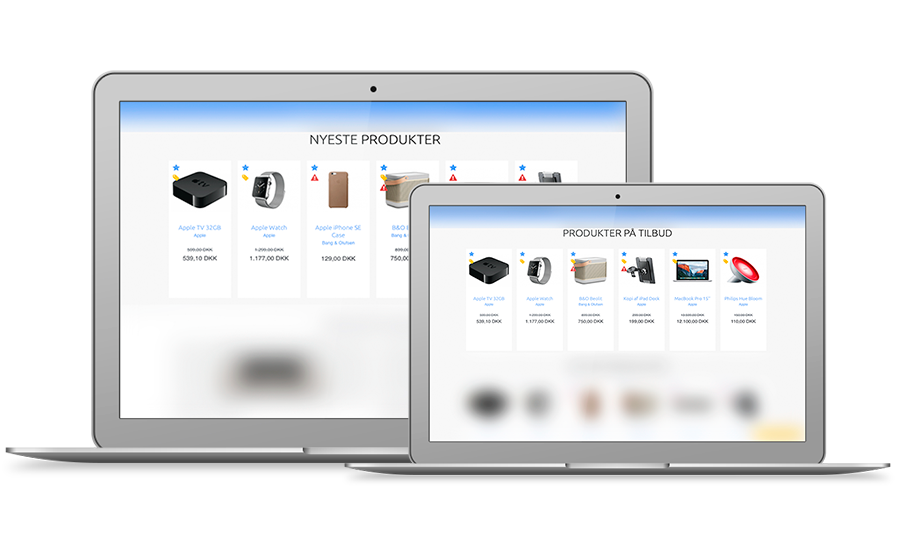
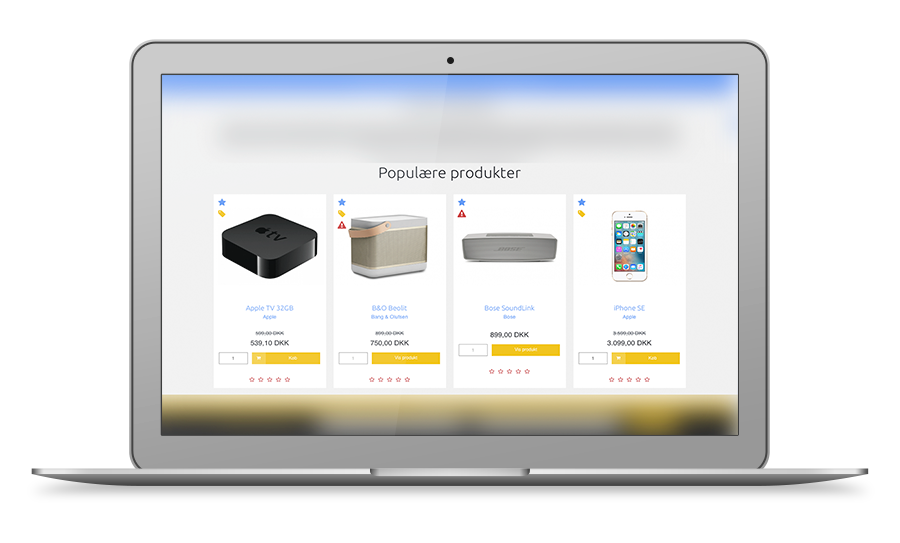
New and onsale products is a handy feature. With this feature you can get up to the last 24 respectively newest products and/or products on sale to appear on the frontpage.
All you have to do is the following:
- Log in to your SmartWeb solution.
- Go to "Webshop > Design" in the left menu.
- Click on "Customize" on your Galaxy design.
- Find the title which is named "New and onsale products" located under "Frontpage".
- Here you can enable / disable your featured products and choose which number of products to be displayed. You can also choose to display the Stars and purchase buttons on these products. It is also possible to change the color headtitle.
- The head title properties can be found under the "Language" tab at the top, under "Design Manager > Edit Design".
- SALE_PRODUCTS_HEADER: Headline of components.
- NEW_PRODUCTS_HEADER: Heading on new products.
BLOG
SETTING UP THE BLOG POST
The latest 2 blog posts, latest news or something else. It's you who sets the limit for what you want to show your visitors.
The blog feature set will automatically set the language on the "read more" and change depending on the language the page is visited on.
This function can be activated / deactivated by doing the following:
- Log in to your SmartWeb solution.
- Go to "Webshop > Design" in the left menu.
- Click on "Customize" on your Galaxy design.
- Find the title which is named "Blog posts" located under "Frontpage".
- You can change the background color, font color, background button color, font color on the "read more" button and
enable / disable the display of blog posts.
LANGUAGE AND CURRENCY
USE OF LANGUAGE AND CURRENCY
We have made it possible to change the background color and font color on the "Flag and Currency" function.
To edit these colors it can be done in the following way:
1. Log in to your SmartWeb solution.
2. Go to "Webshop > Design" in the left menu .
3. Click "Customize" on your Galaxy design.
4. Find the "Language dropdown" located under "Settings" .
Here you will be able to edit both the background color and font color easily.
SEARCH FUNCTION IN THE TOPBAR
USING THE SEARCH FUNCTION
The search function is displayed when the user clicks the icon that looks like a magnifying glass in the topbar. The reason for it being "hidden" to start with, is to make space for E-mærket instead. If you want to set the color theme for your search field, you can do the following:
1. Log in to your SmartWeb solution.
2. Go to "Webshop > Design" in the left menu .
3. Click "Customize" on your Galaxy design.
4. Find the title "Search box colors" located under "Template colors" .
Here you will be able to edit both the background color and font color easily.
INPUT FIELDS
USE OF INPUT FIELDS
If it is possible to create your own personal Online store, and customize it in so many ways, shouldn’t you be able to change all the textbox frames, watermarks and background colors too? Of course, and its even simple too. Just follow the few steps below:
1. Log in to your SmartWeb solution.
2. Go to "Webshop > Design" in the left menu .
3. Click "Customize" on your Galaxy design.
4. Locate the menu title named "Input Fields" located under the "Template colors" .
Here you can edit both the background, the font and frame color.
FRONTPAGE PRODUCTS
USE OF FRONTPAGE PRODUCTS
Frontpage products are more or less a feature that is active from the start, since the products are added to the frontpage if you tick the "Frontpage Product" when creating the product.
This setting has a good overview on mobilephones and tablets
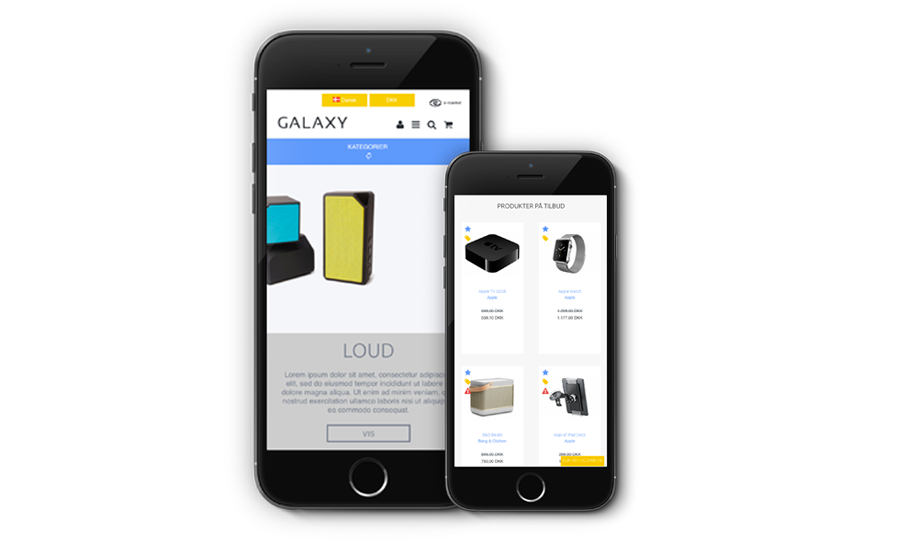
Our Galaxy design SmartWeb is optimized even more for mobile/tablet and include compared to the standard. You see two products on each line in the productlist, so you quickly get an overview of what products can be purchased in your shop.
E-mærket is also on mobile! Let your customers see your e-mærke on mobile.
MOBILE OVERVIEW
Good overview on mobile
Our Galaxy design SmartWeb is optimized for mobile and compared to the standard of SmartWeb, include so you see two products on each line in the productlist, so your customers quickly get an overview of what products can be purchased in the Online store.
E-mærket is also on mobile! Let your customers see your e-mærke for themself on youre mobilefriendly Online store.
NB! ATTENTIONBOX
SETTING UP NB! ATTENTIONBOX
The "NB! Attentionbox" is a feature that allows you too make a quick "Check this out!" advertisement. You can edit both the background, text and link. Here you can for example create a discount box, news subscription, or other information you think is extra important to get out to your visitors
.
To make use of this handy feature, do the following:
- Log in to your SmartWeb solution.
- Go to "Webshop > Design" in the left menu.
- Click on "Customize" on your Galaxy design.
- Find the title which is named "Attentionbox in the lower right corner" located under "Frontpage".
- The text can be changed under "Actions > Edit translations", which is accessed from "Webshop > Design".
ATTENTION_TEXT: This is the text of your box.
ATTENTION_LINK: This is where you write the link to your box.
NEWSLETTER SUBSCRIPTION
SETTING UP THE NEWSLETTER SUBSCRIPTION
The newsletter subscription function is your chance to make it easy and convenient for interested visitors to sign up for your newsletter.
You can enable / disable this feature as desired, and also change the background color.
This is done the following way:
- Log in to your SmartWeb solution.
- Go to "Webshop > Design" in the left menu.
- Click on "Customize" on the template you want to enable / disable your form on.
- Find the title which is named "Newsletter subscription" located under "Footer".
- Here are the options for news sign-up bar.
CUSTOMER PANEL
SETTING UP CUSTOMER PANEL
At the bottom of the frontpage you will also find "Customer Panel (The 4 buttons)" which can make it easy for you to link to your trading conditions, news, blog, FAQ, contact, support, and much more.
There are many configurations here. You can enable / disable the customer panel, you can also change the background color, font color, icon color, and choose an icon for each button.
To make use of this feature you can do so here:
1. Log in to your SmartWeb solution.
2. Go to "Webshop > Design" in the left menu.
3. Click on "Customize" on your Galaxy design.
4. Find the title which is named "Customer Panel" located under "Footer".
5. The text can be changed under "Actions > Edit translations", which is accessed from "Webshop > Design".
Next to each line can be written a 'read more' text on the buttons as well as a hyperlink.
Each focus banner has 2 lines.
FOOTER_TEXT_( "TAL")_LINK: This is where you write the link to your box.
FOOTER_TEXT_( "TAL"): This is the text of your box.
Each TEXT ( "TAL") are respectively the cases 1, 2, 3, 4
FOOTER
SETTING UP FOOTER CONTENT
There are several features in the bottom (footer) which can be very useful for your shop.
For example. set up its social media under "Modules > Social Media" in the left menu.
You can change what colors both the title and content font should have, This is done here:
- Log in to your SmartWeb solution.
- Go to "Webshop > Design" in the left menu.
- Click on "Customize" on your Galaxy design.
- Editable in the menu item "Footer font colors" located under "Footer".
Furthermore, you can change what should be included in box no. 2 from the left by navigating to the following:
1. Log in to your SmartWeb solution.
2. Go to "Webshop > Design" in the left menu.
3. Click on "Customize" on your Galaxy design.
4. The text can be changed under "Actions > Edit translations", which is accessed from "Webshop > Design".
There you will find 2 lines, named the following:
FOOTER_INFO_HEADER: This is the headline of your box.
FOOTER_INFO_TEXT: And this is the text of your box.
PAYMENT ICONS
USE OF PAYMENT OPTIONS
At the bottom seen your payment options, this is a standard feature that you find in your Online store manual.
These can edit below:
1. "Settings > Payments" in the left menu.
If you still have problems you can follow SmartWebs own guide and their video might help you follow
link: http://help.smart-web.dk/624-betalingsmetoder/
TRUSTPILOT
USE OF TRUST PILOT
Trustpilot is your chance to show users of your store, what other people think exactly of your shop / business. To activate / deactivate the trustpilot logo at the bottom of your store, do the following:
- Log in to your SmartWeb solution.
- Go to "Webshop > Design" in the left menu.
- Click on "Customize" on your Galaxy design.
- Find the title which is named "Trustpilot" located under "Footer".
- You can choose to display the "Trustpilot" on your Online store, by selecting either Yes or No in the dropdown menu.
To change the link when you look at their logo or if you want to change the text that is above their logo you can do the following:
The text can be changed under "Actions > Edit translations", which is accessed from "Webshop > Design".
TRUSTPILOT_TEXT: The headline of trustpilot logo.
TRUSTPILOT_LINK: The link to their website
E-MÆRKET
USING E-MÆRKET
At the top of your shop can choose to have a visible "E-mærket". You have the option to choose from their standard blue E-mærke or choose to give your own color on the E-mærke.
These settings can be found and edited here:
1. Log in to your SmartWeb solution.
2. Go to "Webshop > Design" in the left menu.
3. Click on "Customize" on your Galaxy design.
4. Find the title which is named "E-mærket" located under "Graphics and Fonts".
5. You can choose to display E-mærket on your shop and choose from their standard "Blue - E-mærke logo", or a custom color. If you select "Custom Color - E-mærket logo" you can use the color picker that is located just below the dropdown menu.
On the E-mærke on the Online store is a popup when you mouseover it. It shows your visitors what they get by shopping on a shop with E-mærket!
If you would like to edit the text, it is possible to do the following:
1. Log in to your SmartWeb solution.
2. Go to "Webshop > Design" in the left menu.
3. Click on "Customize" on your Galaxy design.
4. The text can be changed under "Actions > Edit translations", which is accessed from "Webshop > Design".
There you will find 2 lines, named as follows:
EMAERKET_POPUP_TEXT_( "TAL"): Content
EMAERKET_POPUP_HEADER: Headline
Each ( "TAL") are respectively the cases 1, 2, 3
NOTE: To have a visible E-mærke logo on your shop requires a certificate from https://www.emaerket.dk/
Here are 3 good reasons to have E-mark on your shop!
Strengthens your credibility and sharpens your competitive edge.
Ensures your customers with cash buyer protection of up to 10,000 DKK.
Gives you access to unlimited legal assistance and ongoing advice.
BADGES (Icons on products)
USE OF BADGES
Will you be able to show some graphical icons as "Sold", "Offers" or when you have new products in the Online store? Now you can, we've made it possible for you to choose whether you want it as text or icons.
If you choose to have your badges displayed as "As Text" it is simple and the colors can be adjusted the same place as Info Box colors (success, neutral, warning):
1. Log in to your SmartWeb solution.
2. Go to "Webshop > Design" in the left menu.
3. Click on "Customize" on your Galaxy design.
4. Find the title which is named "Various colors" located under "Template colors".
However, if you want to enable / disable icons instead of the standard text being shown, it can be done here:
1. Go to "Webshop > Design" in the left menu.
2. Click on "Customize" on your Galaxy design.
3. Find the title which is named "Product splashes (Badges)" located under "Products".
Here you can choose to display "Badges" at your shop, you can choose from standard "As text" or "As icons". If you want other icons, you can select these in the dropdown menu for each category below. You can also choose the colors for your icons here.
Try
Smartweb
Galaxy shop design is made for SmartWeb system. You can get a non-binding sample system for 30 days and see if it's something for you. Dont you like the system simply do not start your subscription in your shop administration, then "it costs Free".
.png)
